Knowing how to install a deadbolt lock is different from knowing how to install door locks. Deadbolt locks are located a few inches above the standard door lock and typically requires more steps, especially if there is not a deadbolt lock already there. By knowing how to install a deadbolt lock, you can maintain the safety and security of your home.
Here at ASAP Locksmith, we believe you should know how to install a deadbolt lock without a problem. Of course, we understand you may not have time or the technical ability to complete the job. Well, in that case, contact us for residential locksmith services.
Here is how to install a deadbolt lock:
1. Find the Location for the Deadbolt
Important Note: If your door already has a deadbolt, skip to step 5.
Once you have your deadbolt purchased, check to see if it has any manufacturer’s template. This template will help you locate where the deadbolt should go. In the event it doesn’t come with one, the best rule of thumb is 6 inches above the doorknob. Mark this area with a pen or permanent marker so you can easily locate the position.
2. Create a Hole
After you’ve marked the position for the deadbolt, you need to create a hole. This step is for doors that do not already have a deadbolt. Again, if your door already has a deadbolt and you want to replace it, skip to step 5.
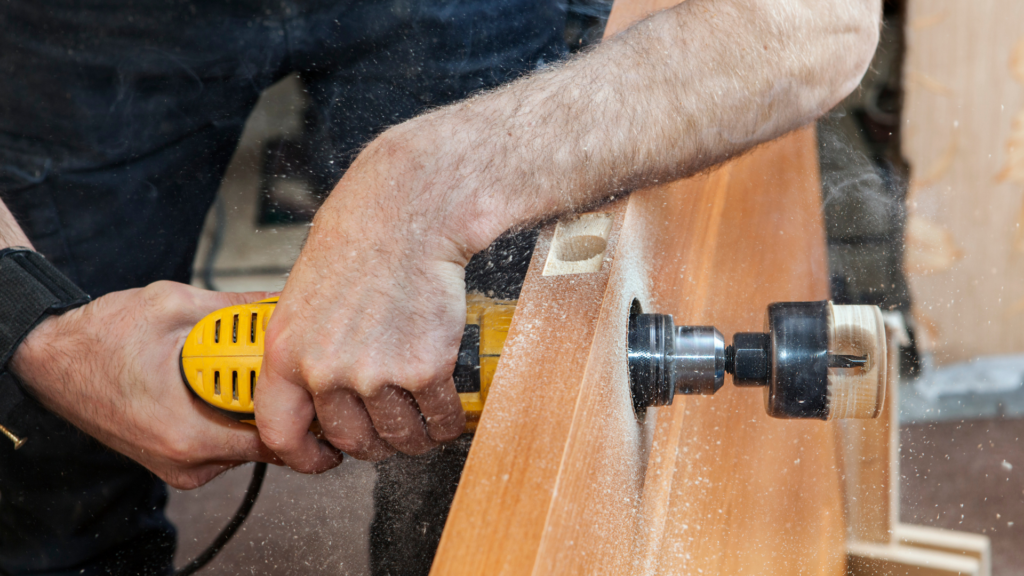
Start drilling a hole with your hole saw. Drill through until the pilot bit at the center of the saw reaches the other side of the door. Then, start drilling on the other side of the door. This helps reduce the mess and splintering of the drill.
3. Drill Another Hole
The second hole for the door is where the bolt goes. So, you need drill bit about ⅞ inches to drill the hole until it reaches the faceplate hole. Remember, you are drilling the hole on the edge of the door, the surface that meets the door jamb.
4. Chisel to Mortise
Place the bolt into the hole and let it sit against the surface. Trace the outline of the bolt plate to mark the area you need to chisel out. From there, chisel out the area that is the outline so the bolt plate will sit flush in the door.
5. Attach the Bolt
Use the short screws provided by the deadbolt to secure it to the edge of the door. It should sit flush in the mortise. If it doesn’t, consider chiseling a bit more or check to see you got the right sized deadbolt for your door.

6. Install the Plates
Now, install the faceplates of the deadbolt. Using the longer screws, secure them together, so they fit tightly on the door. Ensure the lever works and the bolt works accordingly.
If your door had a deadbolt on it prior to installation, your job is done. If you needed to create a hole for the deadbolt, you have one more step. Continue reading to learn more.
7. Install the Strike Plate
You created a place on your door for the deadbolt, but the door jamb needs one too. You’ll need to install a strike plate where the deadbolt will catch. To do this, use the ⅞ inch drill bit to create two overlapping holes. From there, mortise the area, so the faceplate fits flush and then secure with screws.
Now You Know How to Install a Deadbolt Lock
Now that you know how to install a deadbolt lock, you can increase the security and safety of your home. Of course, if you aren’t tool savvy, then we can assist. Contact ASAP Locksmith for assistance in upgrading your home’s safety. Our technicians can install a wide range of locks for your home. Give us a call at (850) 400-6494 to learn more.